Location Swap :: Install Guide :: CF Pro Tools
Print
Modified on: Tue, 23 Jan, 2024 at 9:13 AM
Location Swap :: CF Pro Tools Add-On Features For ClickFunnels Pages
Description and Best Use Case For This Add-On:
Using this add-on, you can create headlines or sub-headlines with a special merge tag to dynamically show the browser's location by IP, City, State, Zip Code, and more.
This is great for simple targeting of your customer, and is an amazing tool for local based marketers.
For instance, if you want to target someone in Boise, ID, you could create a subhead that says something like this:
"Looking for an experienced HVAC tech in {{city}}?" and it would show as:
"Looking for an experienced HVAC tech in Boise?"
OVERVIEW (For Advanced Users)
For those of you ready to jump in and are familiar with CFProTools, you can use this checklist:
You will need a HEADER or SUB-HEADER element set on the page with a CSS TITLE:

cf-location-swap
Step 3: Create Your Add-on Script
For most add-on installations of the LOCATION SWAP script, you can simply click the CREATE NEW button:
Please note: You can use this script over and over for other order pages without having to create a new and unique script. On-page configuration may vary.
... now do a keyword search for LOCATION SWAP
Once you have located the LOCATION SWAP script, click the thumbnail image and create the add-on per the installation instructions.
You will need to name your script.   We recommend a naming convention like this:

LS (Test Funnel) or
Location Swap (Book Funnel)

It's best to name it with the name of the add-on AND in parentheses, make sure to name which funnel it belongs to so you can easily identify later.
Once you have completed this area, click the red button below to create your add-on script.
Step 4: On-Page Configuration
You will need to set a HEADER where you would like to merge the browser's country, state, zip code, etc...
Once you have the HEADER or SUB-HEADER element set, make sure to add a CSS TITLE to the element.
The CSS TITLE will be: cf-location-swap
Now just type out your message as normal, maybe a callout with a merge tag as normal, and your merge tags available for you to use will be these:
Step 5: Install Your Add-on Script
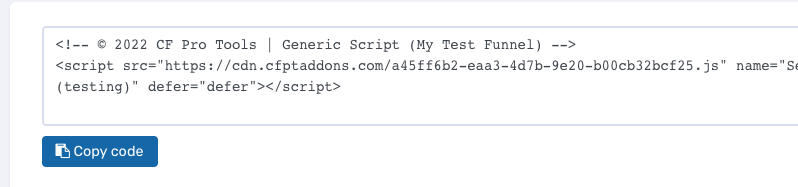
You can now copy your newly generated script out by clicking the blue button where your script is located.
The button says, "COPY CODE", this will copy the script to your virtual clipboard.
You are now ready to paste the script into your FOOTER TRACKING CODE AREA.
Click SETTINGS --> TRACKING CODE
Now click the FOOTER TAB, and paste your code in:
Now SAVE your page, you are ready to preview and test your new add-on!
Known Conflicts:
No known conflicts at this time.
What To Do Next:
Here Are A Few Other Help Docs You May Wish To Check Out:
Chances are you already have a CF Pro Tools account and you can find all available resoureces, there: app.cfprotools.com
However, if you have do not yet have a CF Pro Tools account, you will need one in order to take the actions in this help doc. You can sign up at any time here: www.cfprotools.com