Slick Slider :: CF Pro Tools Add-On Features for ClickFunnels
Description and Best Use Case For This Add-On:
Slick Slider add-on creates a unique image sliding dynamic for your images or testimonials on any type ClickFunnels page.
Use this to slide ROWS in a SECTION, or to Slide IMAGE elements inside of a ROW.
OVERVIEW (For Advanced Users)
For those of you ready to jump in and are familiar with CFProTools, you can use this checklist:Add Your Domain To CFProTools DOMAINS TAB
Create Any Type Page
Create Section of Rows -- or -- Rows of Elements
Update CSS TITLE for your SECTION or ROW to: cf-slick-slider
Create and Install CF Slick Slider Add-on
No Known Conflicts
Step 1: Add Your Domain To CFProTools DOMAINS TAB
Your first step will be to add your domain to the CFPT Domains Tab.
Here's a guide on how to do that:
https://cfprotools.freshdesk.com/support/solutions/articles/29000041078-how-to-add-a-domain-to-cf-pro-tools-online-installation-guides
Step 2: Create Your Funnel Page
You can create ANY type page installed in your funnel on ClickFunnels in order for this add-on to work.
Here's a quick tutorial on how to create funnel pages using ClickFunnels:
https://help.clickfunnels.com/hc/en-us/articles/360060380833-Creating-A-New-Funnel-Step
Step 3: Create Your Add-on Script
For most add-on installations of the CF SLICK SLIDER script, you can simply click the CREATE NEW button:

Please note: You can use this script over and over for other order pages without having to create a new and unique script. On-Page Configuration May Vary Slightly.... now do a keyword search for CF SLICK SLIDER.

Once you have located the CF SLICK SLIDER script, click the thumbnail image and create the add-on per the installation instructions.
You will need to name your script.   We recommend a naming convention like this:

CFSS (Test Funnel) or
CF SLICK SLIDER(Book Funnel)

It's best to name it with the name of the add-on AND in parentheses, make sure to name which funnel it belongs to so you can easily identify later.
Once you have completed this area, click the red button below to create your add-on script.

Step 4: On-Page Configuration
Here is where you will create your ELEMENTS or IMAGES and you would STACK them in a ROW.
Alternatively you could create sliding ROWS by stacking ROWS inside of a SECTION.
It might look similar to this when you have set it up on the page editor:

Once you have your elements all set up on the page, you will go to your CSS SETTINGS by clicking the ROW or SECTION settings cog wheel, and clicking the "#" in the bottom right panel:

You would now set your CSS TITLE to: cf-slick-slider
CSS TITLES are case sensitive, make sure the title is written in lower case.
Step 5: Install Your Add-on Script
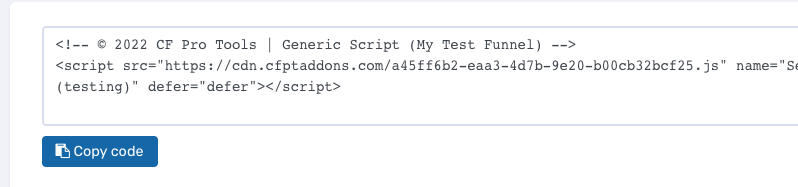
You can now copy your newly generated script out by clicking the blue button where your script is located.
The button says, "COPY CODE", this will copy the script to your virtual clipboard.

You are now ready to paste the script into your FOOTER TRACKING CODE AREA.
Click SETTINGS --> TRACKING CODE

Now click the FOOTER CODE TAB, and paste your code in:

Now SAVE your page, you are ready to preview and test your new add-on!
Known Conflicts:
The following add-ons do not work with CF SLICK SLIDER
No Known Conflicts
This may not be an all-inclusive list, if you find any conflicting add-ons with this add-on, please let us know at support@cfprotools.com
What To Do Next:
Here Are A Few Other Help Docs You May Wish To Check Out:
Step 5: Install Your Add-on Script
You can now copy your newly generated script out by clicking the blue button where your script is located.
The button says, "COPY CODE", this will copy the script to your virtual clipboard.
You are now ready to paste the script into your FOOTER TRACKING CODE AREA.
Click SETTINGS --> TRACKING CODE

Now click the FOOTER CODE TAB, and paste your code in:

Now SAVE your page, you are ready to preview and test your new add-on!
Known Conflicts:
The following add-ons do not work with CF SLICK SLIDER
No Known Conflicts